Importing users/user data by emailing a report
Dado offers direct connections to many systems via their APIs. For some systems, API connections are not possible due to restrictions in that system – or perhaps your package for that system does not include API access.
In these cases, there are two other options you can explore:
- Automating the delivery of reports via Secure File Transfer Protocol (SFTP)
- Automating the emailing of reports to a dedicated Dado email address
This article will focus on the second of these options.
In this approach, you set up your source system (for instance, your HRIS) to regularly email a report in CSV format, to an email address Dado provides. Dado receives the report and uses it as a data source every time an import is run.
Contents
- Is emailing data to Dado secure?
- Restrictions on emailing data to Dado
- How to set up a report to be emailed to Dado
- Troubleshooting email data imports
Is emailing data to Dado secure?
Emailing data to Dado is as secure as having the system email the data to you directly.
Dado generates a new, unique email address for every report you want to email Dado. These email addresses are never re-used, and the email address is only made visible to people with the highest level of permissions in your Dado account.
In addition, Dado restricts the email addresses which are permitted to provide data via this mechanism. This avoids the possibility that someone else could accidentally or maliciously email incorrect data to Dado, and get that data added to your Dado account.
You can specify exactly what data is emailed from the external system, and what data Dado pulls in, so you are always fully in control of which worker data Dado has access to.
Restrictions on emailing data to Dado
Dado can only accept CSV files via email
The report emailed to Dado must be in CSV format. This is a very commonly used format, so most systems should be able to send data in this format.
The report must be attached to the email
Some systems provide the option of including the report in the email as a) an attachment or b) a link. For Dado to be able to use the report, it must be attached to the email.
Each Dado email address can only be used for one kind of report
If you wish to set up 2 systems or 2 reports from the same system to be emailed to Dado, you'll need to set up 2 email addresses. This is a one-minute job in the Dado import source settings.
How to set up a report to be emailed to Dado
Pre-requisites: confirm your HRIS/other external system can send CSV reports via email. This is a very common feature for most HR platforms, but some providers will need to switch this on in your account. Some providers will charge a fee for this feature.
Step 1. Set up a report in your HRIS/other external system
Start by creating a report that contains all the information you'll want to sync to the Dado system.
We recommend that these reports include
- new hires (if this is your ATS)
- existing workers (if this is your HRIS)
- recently termed workers (if this is your HRIS)
- including recently termed employees in your report ensures that Dado knows when an worker has termed. If your report only includes current workers, Dado will never receive any data to indicate someone has termed.
The exact data points you'll need in the report will depend on what you need for the experiences you're running in Dado. However, these are the fields that you're most likely to need:
- employee ID
- work email address
- personal email address
- first name
- last name
- preferred first name (if the system has that data)
- job title
- team/department/division
- employment type (e.g. full time, intern, contractor)
- start date
- termination date (Dado will use this to recognise termed employees, so they can be excluded from experiences)
- location (e.g. state/city/country) and/or work location (e.g. New York Office, Mumbai Office, Remote)
- work style, if relevant (e.g. on-site, hybrid, remote)
- manager's email address (Dado will need the work email address of the manager to identify the associated Dado user)
Step 2. Email a copy of the report to yourself
Set up the HRIS/other system to email a copy of the report to yourself. Once you've received the email, check:
- Is the report attached to the email?
- If not, you'll likely need to adjust a setting in your HRIS
- Is the report in CSV format?
- If not, you'll likely need to adjust a setting in your HRIS
- Note down the email address the report was sent from. You'll need this in the next step.
- Download the report and open it on your computer. You'll need to reference details of the report in the next step.
Step 3. Set up an email import source in Dado
- Go to Employees > Import Sources in the Dado admin interface
-
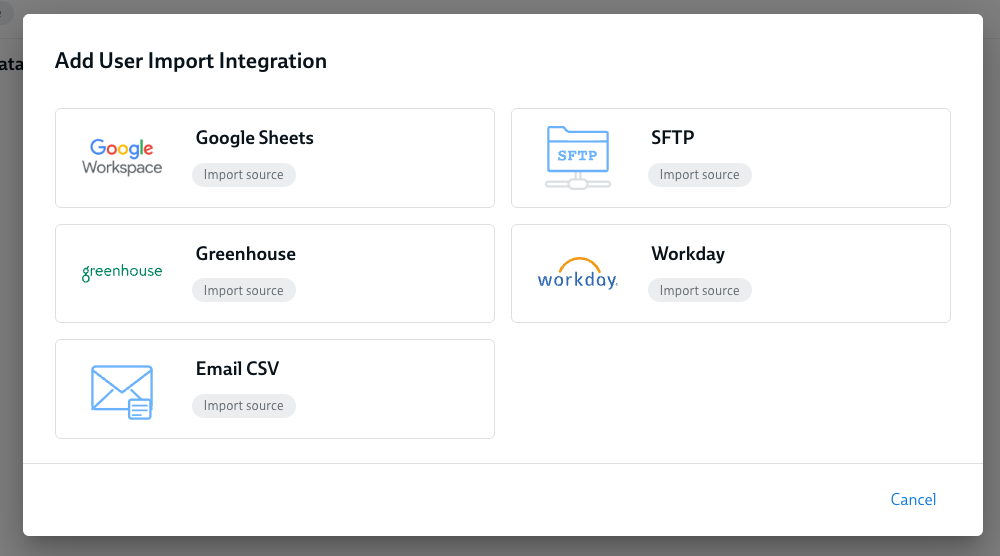
Click on the Add Import Source button on the right hand side

-
Click on Email CSV
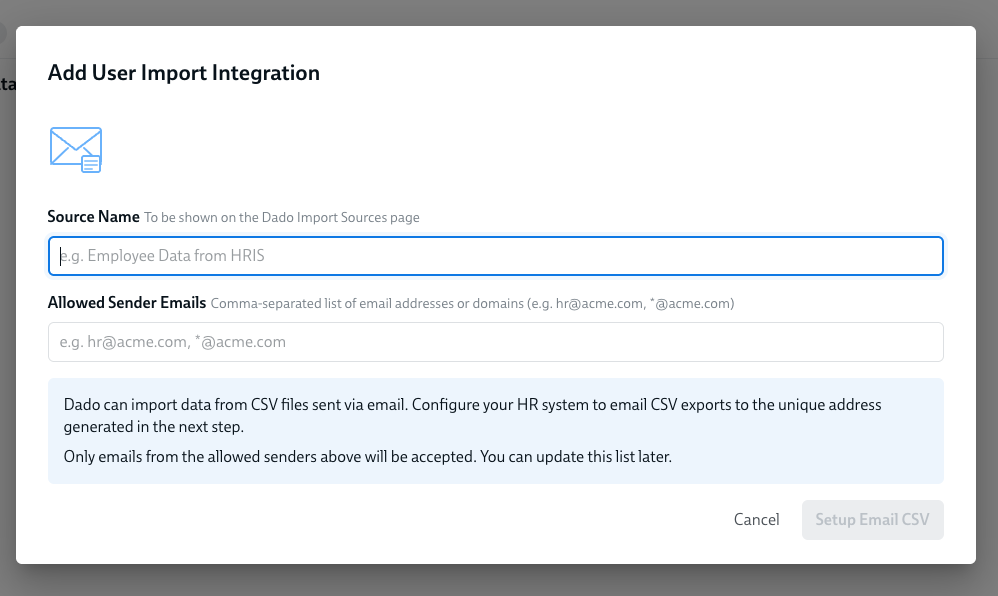
- In the next screen, you'll be asked to select a name for this import source. This only appears in the Dado admin interface. We suggest you choose a name that includes the external system that will be putting data into the folder and the type of data that will be contained. For instance: Rippling Employee data
- You'll also be asked to input the Allowed Sender Emails. Into this box, paste the email address that sent the report to you. For instance, no-reply@rippling.com.
- If you're not 100% sure what the email address will be, or the email address changes, you can also only put the domain, preceded by a star – for instance: *@rippling.com
-
Click Set up Email CSV
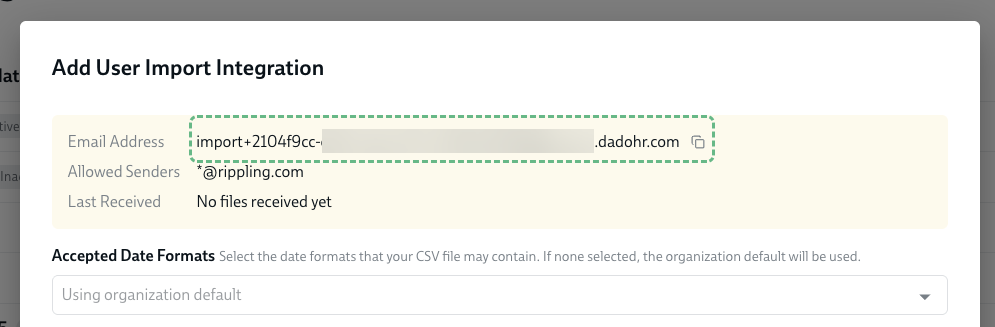
-
At the next step, you will be provided with your dedicated Dado email address. Make a note of this, as you'll need it at the next step.
- Now you can specify which information from your report you'd like to be imported into Dado.
- Open up the example report you emailed yourself, and look at the column headers.
-
On the Dado page, click Add field
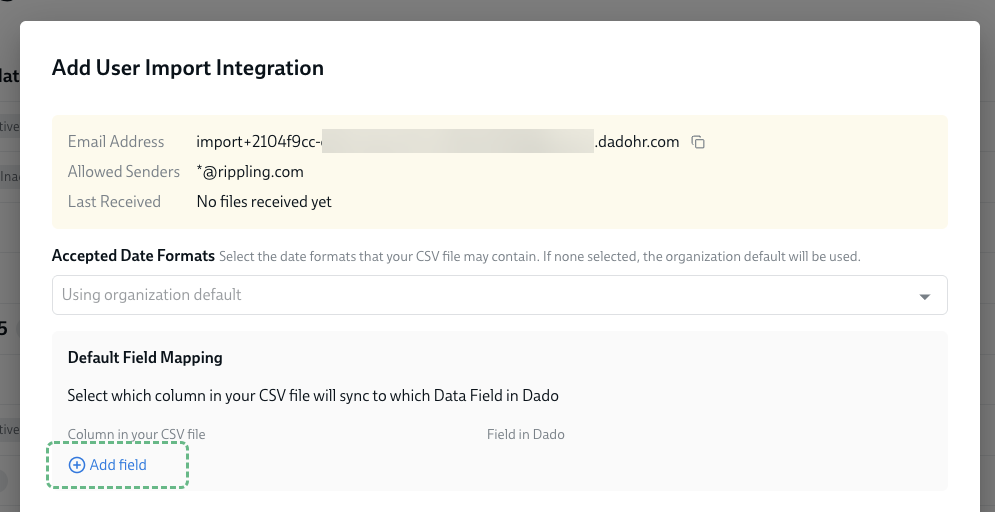
- For each column of data you'd like imported into Dado, input the column header into the left hand field in the Default Field Mappings section of the screen. Then select the Dado field you want that data imported into, in the right hand field. Please note: you may need to create custom fields for some datapoints.
-
For instance, in the screenshot below, we've specified that the report column Preferred_First_Name should be imported into Dado's Preferred name field.

- Once you have finished added all the datapoints you'd like to be imported, click Save.


Step 4. Set up your HRIS/other external system to regularly email your report to Dado
In your HRIS or other external system, configure the report you created in Step 1 to email a CSV attachment to the email address shown in Dado in the previous step.
If you have set up your Dado imports to run automatically, set the report to export an hour before your daily import. To check the time of your daily imports:
- Go to Employees > Imports in Dado
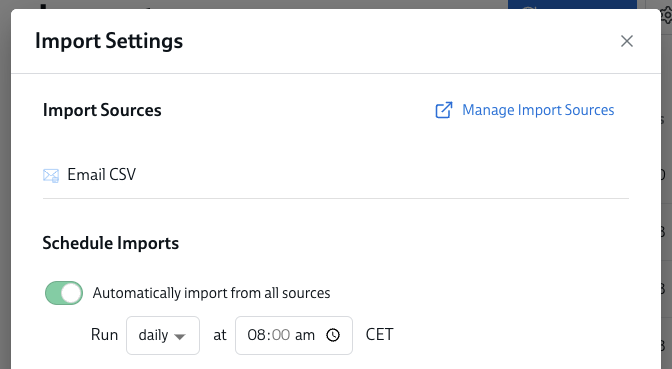
- Click the Import Settings button in the top right
-
-
In the window that appears, you'll see the time of your daily imports


Step 5. Run a test import
At this stage, we suggest you run a manual import to test that the import source is set up correctly.
Wait til your external system has emailed the report to Dado for the first time (so this could be the next day at 8am).
- In Dado, start by turning off automatic imports (if you have them turned on) for the duration of your testing:
- Go to Employees>Imports
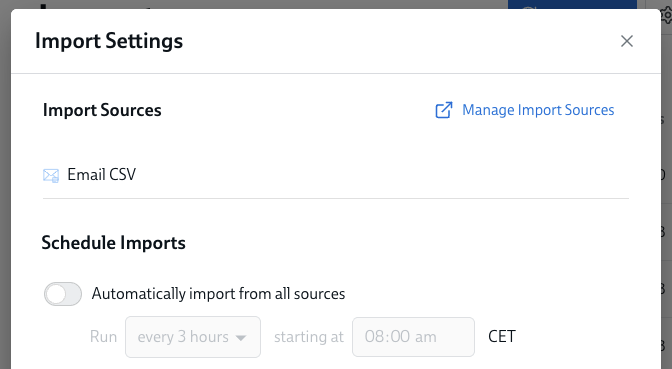
- Click on the Import Settings button on the top right
-
Turn off the first toggle, labelled Automatically import from all sources
- Run a manual import
- Check that the data from your external system is flowing into Dado as you wish
- Discard this import, rather than saving it
- Make any changes needed, e.g. to the data exported from your external system or the Field Mappings in Dado
- Continue running test imports until you're happy with the outcome.

When you're finished testing, don't forget to turn automatic imports back on (if you had them switched on previously)
Troubleshooting email data imports
No data is importing from my email import source
Check your field mappings
There are a couple of things that could be causing this. The first thing to check is that you've added some field mappings for this import source (Step 3 above).
To check this, go to the Import Sources page and click on your email import source. You should see this field mapping section, highlighted in the screenshot below:

If you don't see any field mappings here, you can add some by clicking Add field. Don't forget to hit Save when you're done!
Confirm that the external system has really emailed a CSV file, as an attachment, to the correct email address
Another potential issue could be that the external system (for instance, your HRIS) has not yet emailed a file; or didn't email it to the right address; or sent a non-CSV file; or did not include that CSV as an attachment to the email. All of these settings can be configured in the external system; you may need to contact their help team to confirm..
I see date-related errors when I run an import
By default, Dado expects dates to appear in the format that's set under Settings > General

However, sometimes dates will come through via email in a different format. For instance, instead of sending 11/23/2025, the date will be sent as 2025-11-23. In these cases, you will see an error like this when you run an import:

When you see this error, please contact the Dado help team. They can update the settings for acceptable date formats, which will enable you to import dates in this new format.