Checkr integration
Contents
- What can you do with a Dado-Checkr integration?
- What data is exchanged between Dado and Checkr?
- How to set up the Checkr integration
What can you do with a Dado-Checkr integration?
The Dado <> Checkr Integration allows you to enables Dado to automatically initiate a background check, and auto-completes when the assignee has provided the necessary information. The status of this background check (and any sub-checks) will be synced to the Dado platform and stored on the user profile, as well as synced out to other systems.
What data is exchanged between Dado and Checkr?
Checkr data accessible to Dado
Dado accesses the following information in Checkr:
- The names of your packages and the checks in each package
- The names of your nodes and the packages assigned to those nodes
- Background checks initiated by Dado, their status and outcome
Dado data accessible to Checkr
When Dado initiates a background check in Checkr, it sends the following information about the person
- First and Last name
- Location
How to set up the Checkr integration
Step 1: Create an API key and webhook in Checkr
-
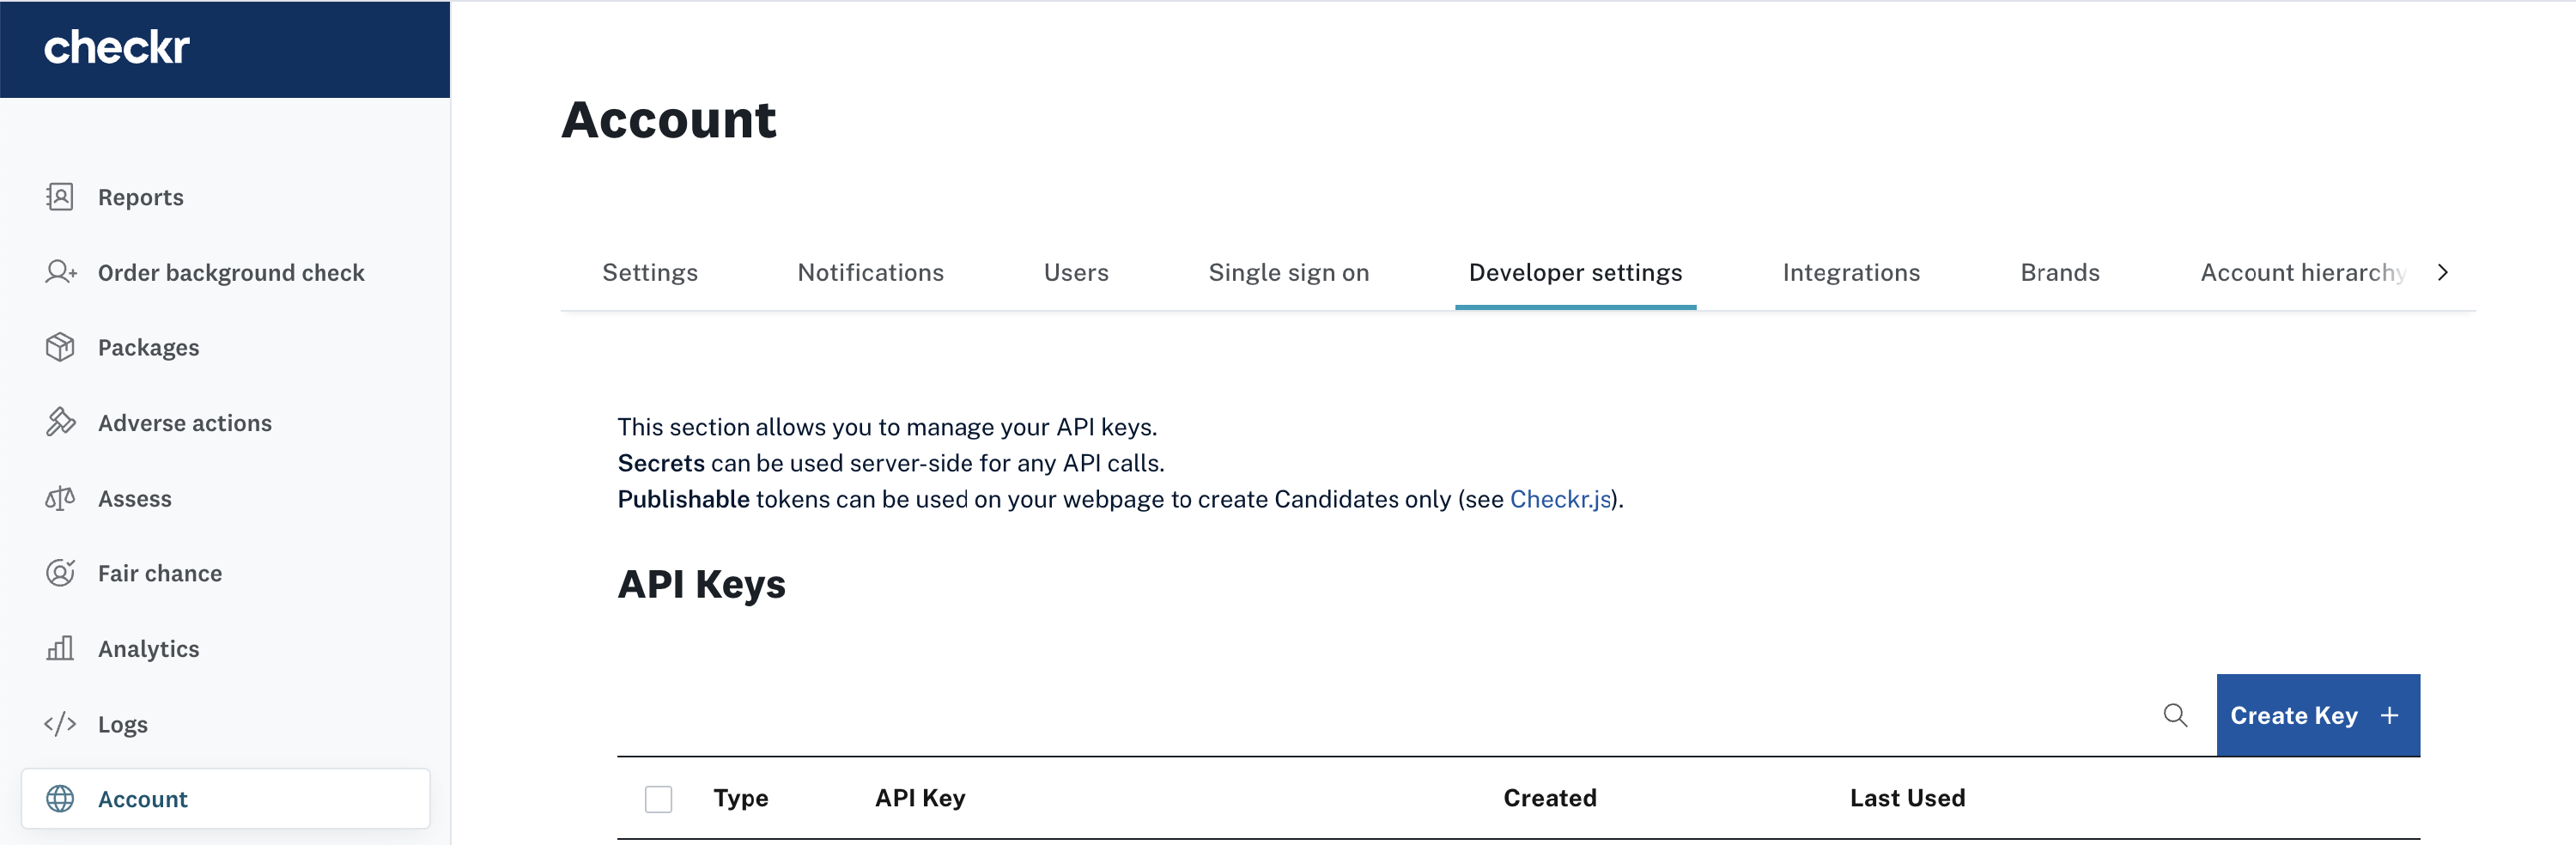
In your Checkr account, select Account on the left hand side navigation, and then select Developer Settings in the tabs at the top

-
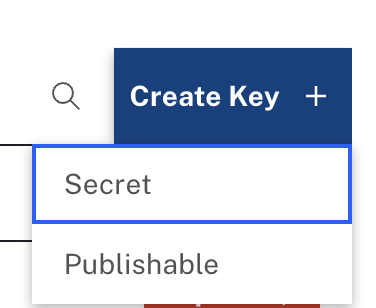
Under API Keys click Create Key and then select Secret
-
The key will appear in the table below. Copy the key – you'll need it for the next step

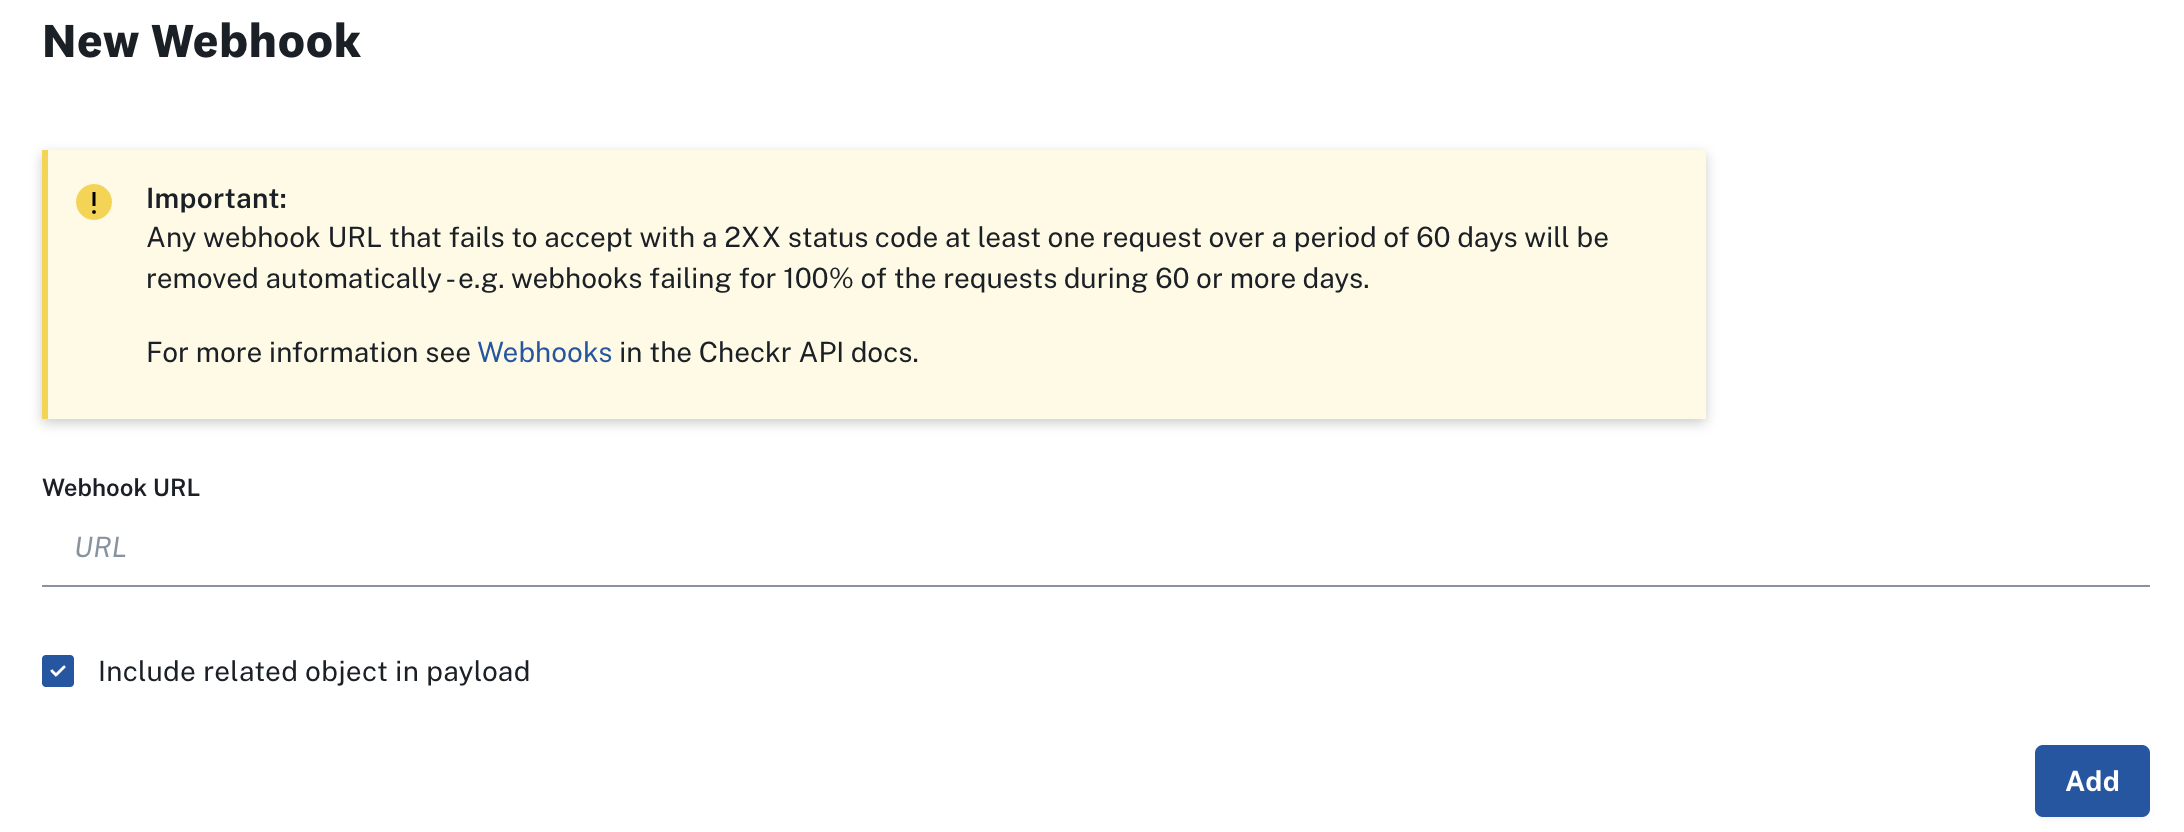
- Further down the page, you'll see the New Webhook section.
- Paste the following URL into the Webhook URL field: https://us-central1-emplexp.cloudfunctions.net/checkr_webhook
- Ensure that the Include related object checkbox is selected
-
Click Add
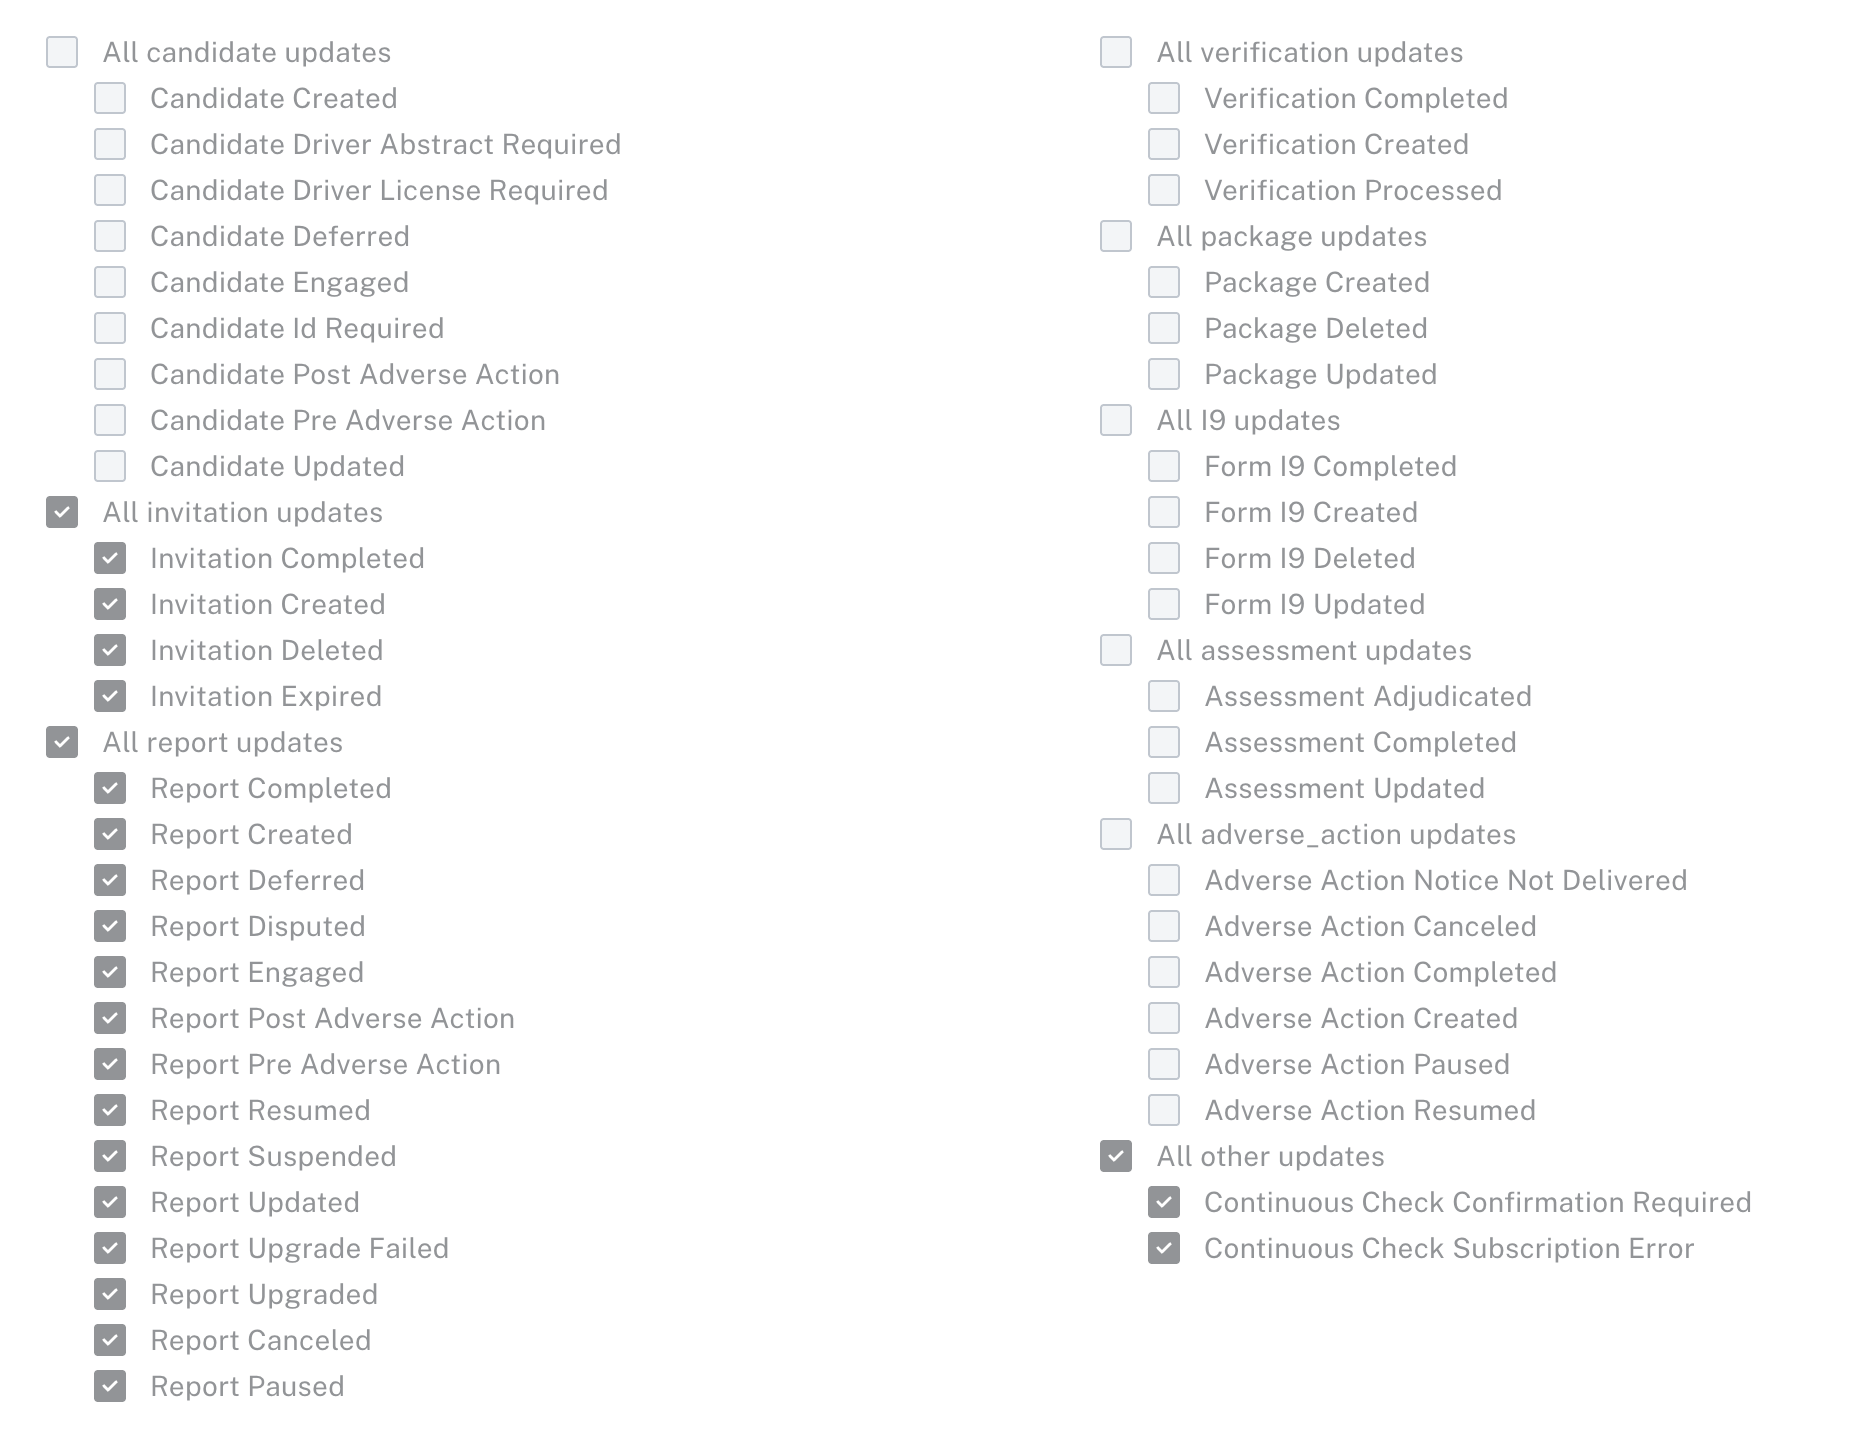
- Scroll down to the Webhook Subscriptions section below, and click Edit.
- Ensure that the following boxes are selected. (It will cause no issue for your Dado integration if additional boxes are selected)
- All invitation updates
- All report updates
- All other updates
- Finally, click Apply Changes.


Step 2: Add the API key to Dado
- Go to the Integrations page in your Dado account, and click on the Checkr card
- Enter the API key you created in the previous step
- Click Save
-
Wait for the screen to refresh. If your API key is valid, you will see the following confirmation
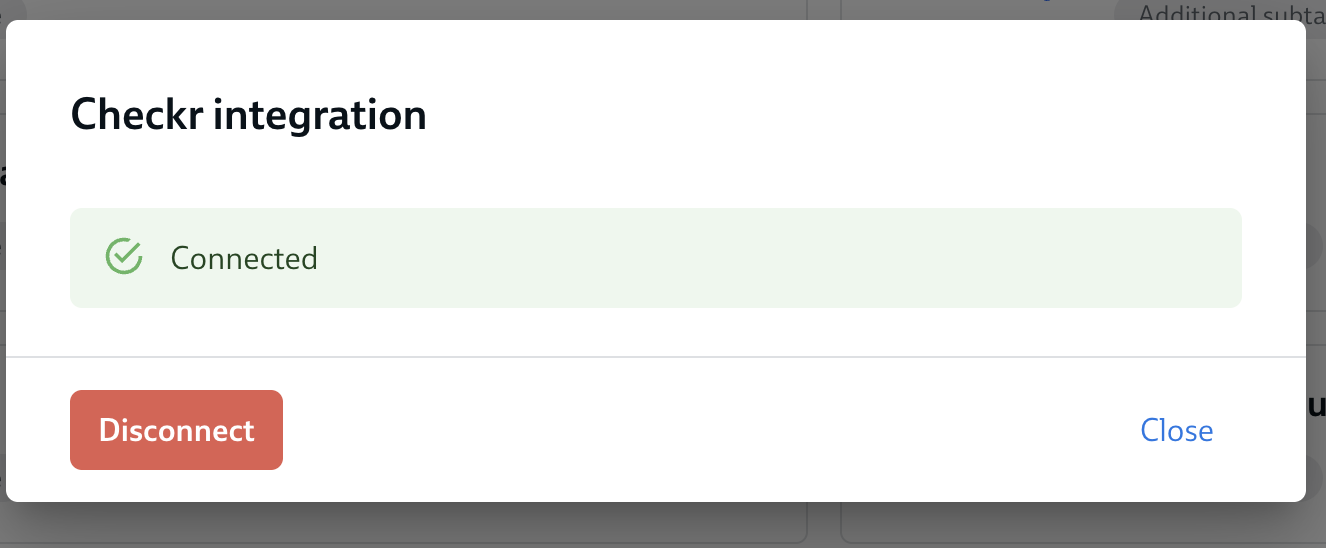
- You're now ready to set up Complete Background Check subtasks
